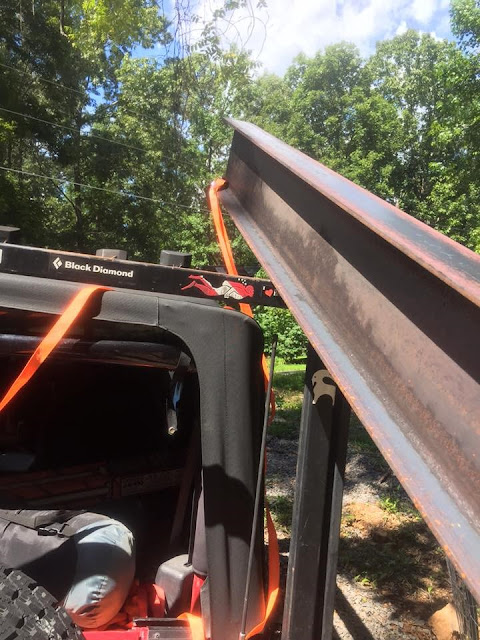
Here is putting the i-beam in place across the ceiling. The i-beam is necessary to support this end. We did not want any posts inside the living room, so we are using the i-beam. This was a very tedious process that required a lot of work. I first had to cut the i-beam down, which took quite a while. The i-beam is 8" with 5" flanges. Once I got the i-beam cut, the next thing was getting it hoisted up to the ceiling. I installed two 4x4s as temporary supports so the ceiling would not sag. The i-beam is close to 400 pounds. I bought 4 pulleys to setup a pulley system and used a steel cable.
I connected the cable to a d-ring so my Jeep could be used to hoist the beam up.
As I was hoisting the beam up, I had to stop every few inches. It would begin to sag on one side. The beam was cut perfectly to fit in between the wall grooves. When it sagged too much, one end would come out and then the beam dropped.
Once I got it up to this point, I had to detach the steel cable and chain because it could not go any further. I secured the two ends with 700 pound straps, along with an additional 400 pound strap. I removed the chain and cable and then put the cable underneath so it could be hoisted the final 18 inches to the ceiling.
Once I got the beam hoisted to the ceiling, I welded it directly to the main container supports on both ends and the center.
This took so much time, that the only other part I finished were fabricating the floor plates. Even though it is not welded in place, I left the straps secured to it and used a come along to secure the steel cable just to make sure it remains secure. When I go back in three weeks, I will install the vertical support beams on both ends. This is by far the most dangerous part of the entire project.


