This is a project to build a lake house at Land between the Lakes in Dover, TN.

Monday, November 20, 2017

Latest Update

This year, I have come a long way with the house. It is now close to being finished that we can go and live in it over the weekends to enjoy LBL. I have not been back since the second week of September due to so many things going on in my life. I am now running for city council of the town I live in. Speaking engagements in Chicago, Orlando, and Tampa have taken up weekends. Spending time with relatives has also taken up a few weekends. Also, we lost both of our dogs. My goal is to return the first weekend of 2018 to start back on the project.

One of the things I have been trying to figure out how to get is the 3,500 gallon water tank. Shipping on one of those is almost as much as the tank itself. Luckily, my neighbor has a 8'x12' trailer that he is going to let me have to take to Oklahoma to pick up the tank.

Here is the list of things I need to complete so the place can be classified as finished:


  • Cedar walls
  • Sliding glass door
  • Kitchen tile
  • Bathroom tile
  • 3,500 gallon water tank
  • electric utility hookup
  • ceiling
  • deck
I know that list is not very big now and believe me, I am glad after working on the place for two years. Our intent is to finish it over the winter so it is done by spring!


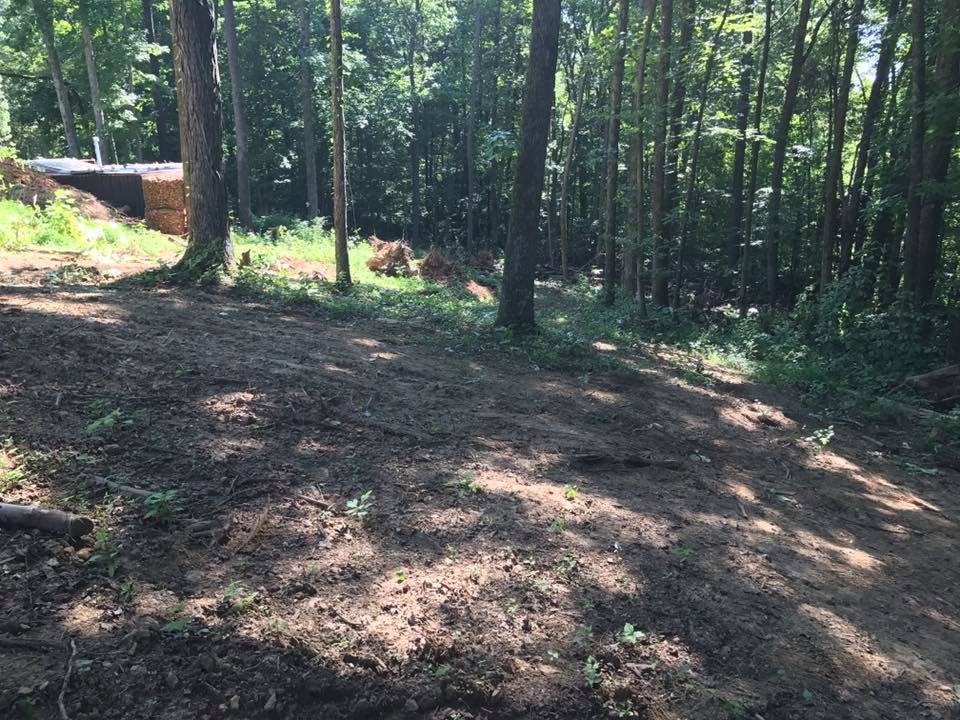
Before my last time there, some of the last things I finished was getting the outside cleared. First, here is a video of the back. Second, here are some pictures of it as we went along. Also, here is a pick of the gabion baskets.


Share:

Friday, April 14, 2017

Kitchenette, Bathroom, Water, and Windows

I finally purchased the Renogy 2000 watt inverter. It has worked out great. With the five 100 watt panels, I have been able to run my electrical tools completely off the solar power without any need of the generator for the past four weeks. I installed four AC outlets throughout the house, one being an outside outlet. The really nice thing about the Renogy device is that it has a remote control to be able to turn the inverter on and off. I really like that. Here is a pic of it installed.


What I did was to run 10/2 line from the AC outlet to the inverter and used a heavy three prong receptacle to plug into the inverter.

Here is a pic of two outlets I ran. The one on the bottom is the AC plug and the one on the top is the 12V plug.


When you are working on a project by yourself, sometimes you must get creative. I had to hold that board in place while I screwed the outside outlet into the wall.


The next thing was installing the sink on the countertop. I had never done this before and was paranoid that I would screw up the cut. It ended up working out great. The only thing left is cutting down the end portion of the counter and putting the edging on it. This may be temporary because I am considering having granite installed.


The next thing I did was to finish up with the gas installation. I cut the hole in the roof and installed the gas ventilation piping for the hot water heater.


Once I got that done, I installed the composting commode. I ended up buying the Airhead composting commode. It seemed like the best commode for the money with the best features. I did have to also install ventilation for it. That was not the easiest. It came with 6 feet of flex piping so I had to improvise. I went to Lowe's and purchased 2 1/2" PVC piping with connectors. This allowed me to run the majority of the pipe to the ceiling and cut the included flex pipe down. Here is what it looks like now. I am going to come back and cover up the piping running up the wall when I install the wood slats on the wall.


This is the outside of the toilet vent. It took a while finding something that would work.


This is what the bathroom is now looking like. I still need to install the upper board behind the shower stall. and connect the piping to the shower. Once that is done, we are ready to test the water!


The last thing I did was to build out the window and door framing. I have cut all of the boards to go in place. I have brought them back home to polyurethane. We decided to leave them their natural color. We really like the natural look.


This is the latest news on the project. I know I don't post like I used to. After two years, I just want to get it over with and enjoy it!
Share:

Monday, January 16, 2017

Container Home: Long Overdue Update - 16 January 2017

It has been a few months since I have published an update. My wife and I have been very busy at completing the home. Each time we have been there, we have been so tired afterwards that we just wanted to come on home, so we haven't taken pics in quite a while. Here is a video of what the inside now looks like.


Here is a picture of the back side:


Here is a pic of the inside:


Share:

BTemplates.com

About Me

My photo
http://about.me/pletchermick
Powered by Blogger.