This weekend, we finished installing the last of the Styrofoam panels on the roof. It made an enormous difference in temperature inside since the sun is now blocked from shining down directly on the steel roof.
We also got the second window installed. It was hot and no fun using a plasma cutter and welder in 90+ degree weather. Here is a pic of part of the wall as it was being cut out. As you can see, I went around and outlined it first.

My wife took a pic of me using the plasma cutter as I was cutting out the wall.

Here is a pic after I finished cutting it out.

The next step was to install the window frame I had built back home. That is not the easiest because I not only had to cut a little more out on each side to properly fit it, but getting it lined up perfectly before welding it is not easy.

Once we got the frame installed, the next step was installing the window, which became a nightmare to us. The steel frame shrunk slightly after welding it into the wall. The window had to be shoved into place. We thought because it took a lot of pressure to push it in that it was nice and secure. WRONG! It fell out and shattered. I had to go back to Lowe's to get a new window. That was no fun at all and took away the rest of the afternoon. We did get it installed though before dark.

Once we got the new window installed, we then came back and caulked all of the openings. In the end, the frame will be covered, so I was not concerned with the white caulk over the black frame.

Once we finished the window, we started on installing the sliding glass door. Because of the window mishap, we did not finish the door. We did get the two vertical beams welded in place though.
I first started out by using the plasma cutter to cut out a wide enough sliver of wall so the 2"x3"x0.25" beam would fit from floor to ceiling on both sides. I had originally thought about building a frame around the door, like I did with the windows. I thought about the fact that the door will take a considerable amount of wall out and that it might structurally compromise the container. That is why I decided to weld two beams, one of each side of the door. It also makes it a lot easier to build out instead of trying to wrestle with a heavy rectangular frame. Here is a picture of the first sliver I cut out.


We also got the second window installed. It was hot and no fun using a plasma cutter and welder in 90+ degree weather. Here is a pic of part of the wall as it was being cut out. As you can see, I went around and outlined it first.

My wife took a pic of me using the plasma cutter as I was cutting out the wall.

Here is a pic after I finished cutting it out.

The next step was to install the window frame I had built back home. That is not the easiest because I not only had to cut a little more out on each side to properly fit it, but getting it lined up perfectly before welding it is not easy.

Once we got the frame installed, the next step was installing the window, which became a nightmare to us. The steel frame shrunk slightly after welding it into the wall. The window had to be shoved into place. We thought because it took a lot of pressure to push it in that it was nice and secure. WRONG! It fell out and shattered. I had to go back to Lowe's to get a new window. That was no fun at all and took away the rest of the afternoon. We did get it installed though before dark.
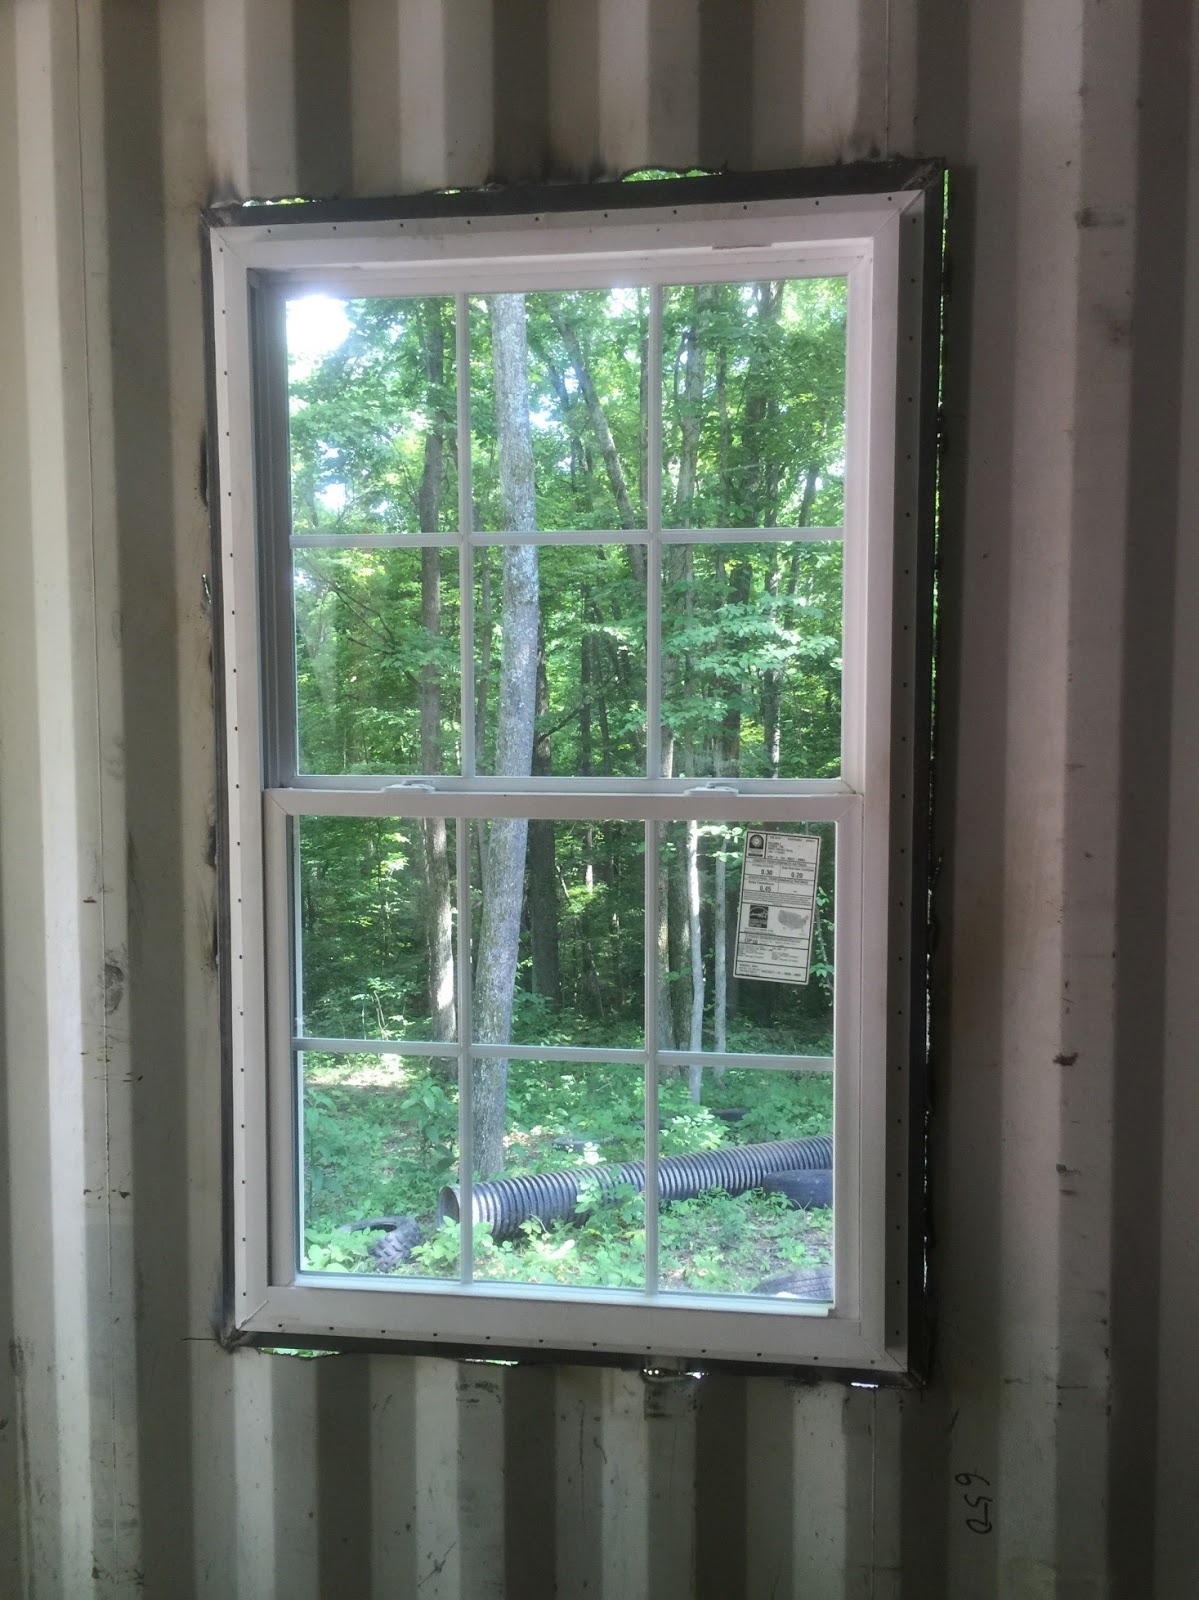
Once we got the new window installed, we then came back and caulked all of the openings. In the end, the frame will be covered, so I was not concerned with the white caulk over the black frame.

Once we finished the window, we started on installing the sliding glass door. Because of the window mishap, we did not finish the door. We did get the two vertical beams welded in place though.
I first started out by using the plasma cutter to cut out a wide enough sliver of wall so the 2"x3"x0.25" beam would fit from floor to ceiling on both sides. I had originally thought about building a frame around the door, like I did with the windows. I thought about the fact that the door will take a considerable amount of wall out and that it might structurally compromise the container. That is why I decided to weld two beams, one of each side of the door. It also makes it a lot easier to build out instead of trying to wrestle with a heavy rectangular frame. Here is a picture of the first sliver I cut out.

Once I got it cut out, I then welded the vertical beam in place. I did the same thing for the other beam. We placed the door up against the beams at the end and it fits perfectly.

When we return in two weeks, we will finish up installing the door. We are really excited to get that done, as it is a major part of the project.
A couple of other things were that we got the first of the insulation for the walls. We have an issue inside in that due to the cold of the ground up against the warm interior, condensation is occurring. To stop this, we are going to install the R-13 insulation down those walls. The second thing we got was the propane refrigerator, which is in the box on the left.

One more change we decided on making was to not seal the end doors like we had originally considered. Instead, we are going to install a sliding glass door behind each door thereby allowing us to open up the home even more when we are there. We will definitely keep the end doors as security when gone.